Stylish Under Stair Shoe Storage Ideas
25 Clever and Stylish Under the Stair Shoe Storage Solutions are here to rescue you from that shoe-pile pandemonium lurking beneath your stairs! Does your entryway resemble a chaotic boot camp or are you constantly tripping over stray sandals? I totally get it. That neglected space can quickly become a dumping ground. Imagine instead, a beautifully organized nook where every pair of shoes has its perfect, easily accessible home. We’re talking neat rows, hidden compartments, and even decorative displays, all transformed in just a few hours for minimal cost. In this article, you’ll discover ingenious ways to reclaim that awkward space, from simple DIY hacks to elegant built-in ideas, all designed to make your home look and feel instantly more put-together. Get ready to say goodbye to clutter and hello to stylish order!
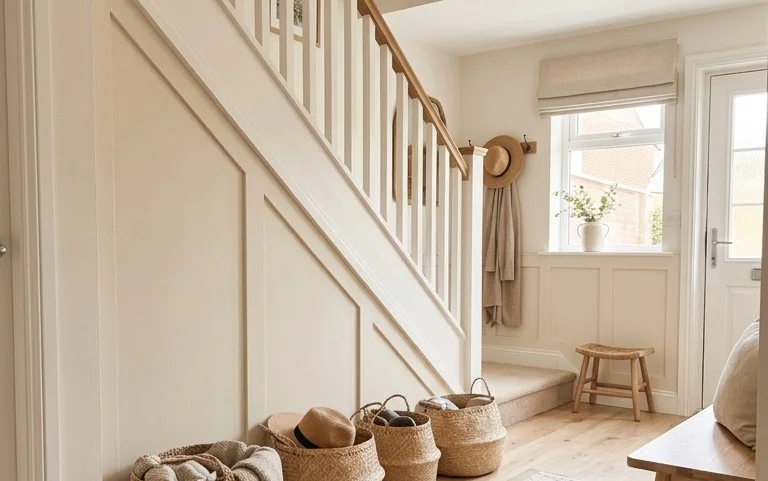
Taming the Tread: 25 Clever and Stylish Under the Stair Shoe Storage Solutions
Let’s be honest. That space under the stairs often becomes a black hole for forgotten shoes, stray umbrellas, and maybe even a dust bunny or two. It’s a prime piece of real estate in our homes, begging for a purpose beyond collecting clutter. I’ve spent countless hours staring at mine, contemplating its potential. Today, I’m thrilled to share 25 ingenious and stylish ways to transform that under-stair abyss into a functional and beautiful shoe storage haven.
Why Under the Stairs?
The allure of under-stair storage is its often-unutilized nature. It’s a niche space that’s perfectly suited for neatly tucking away our ever-growing shoe collections. Think about it: no more tripping hazards in the hallway, no more digging through piles of boots, and a cleaner, more inviting entryway. Plus, with a little creativity, it can become a stylish statement piece.
What You Need & What It Costs
The beauty of under-stair storage is its adaptability. What you need will depend entirely on the solution you choose. Here’s a general breakdown of common items and their approximate costs:
* **Shelving Units:** Pre-made modular shelving units can range from $50 for a basic particleboard unit to $300+ for a sturdier, more attractive wooden or metal option. You might need 1-3 units depending on your space.
* **Drawers/Bins:** Plastic bins can cost $5-$15 each, while fabric bins are similar. Wooden or wicker baskets can range from $15-$40 each. You might need 5-15 depending on shoe volume.
* **Pegboards/Hooks:** A basic pegboard might cost $20-$50, with hooks and accessories adding another $10-$30.
* **Custom-built Shelves:** This is where costs can vary significantly. For DIY materials (plywood, screws, brackets), you might spend $100-$250. Hiring a carpenter could easily be $500-$1500+.
* **Slide-out Drawers/Racks:** These can be a DIY project costing $75-$200 in materials, or purchased units can be $150-$500+.
* **Paint/Stain:** A quart of paint or stain typically costs $20-$40.
* **Hardware (screws, brackets, drawer slides):** Budget $20-$50 for these essentials.
Measuring and Planning: The Foundation of Success
Before you buy a single thing, grab your trusty tape measure. This is the most crucial step.
1. **Measure the Height:** Measure the height at the lowest point of the staircase. This will dictate the maximum height of your storage solutions. I found my lowest point to be only 38 inches, meaning tall boots would need a different solution.
2. **Measure the Width:** Measure the width of the opening to the under-stair space. Ensure your chosen units or materials will fit through the opening and into the space.
3. **Measure the Depth:** Measure the depth from the opening to the back wall. This tells you how deep your shelves or drawers can be. Be mindful of any awkwardly angled walls or beams.
4. **Assess the Slope:** The angle of the stairs is key. You’ll want to maximize every inch.
5. **Consider Your Shoe Collection:** How many pairs of shoes do you have? What types? Do you have mostly flats, heels, boots, or sneakers? This will help you determine the number and types of storage solutions you’ll need.
6. **Sketch it Out:** Draw a simple diagram of your under-stair space and sketch out your ideas. This visual representation will help you see how everything fits. For example, I sketched out a design with three shelves of varying heights to accommodate different shoe types.
Your Step-by-Step Transformation: A Walkthrough
Let’s imagine we’re going with a popular and versatile option: installing custom-cut shelving.
1. **Gather Your Materials:** Based on your measurements, purchase your wood (e.g., 3/4-inch plywood), screws, wood glue, sandpaper, primer, paint or stain, and any brackets you might need. For a space roughly 6 feet wide by 4 feet deep, you might need about two 4×8 foot sheets of plywood.
2. **Cut Your Shelves:** Carefully measure and cut your plywood to the desired shelf lengths and depths. Remember to account for the slope of the stairs. For a tiered system, you’ll cut shelves of decreasing lengths.
3. **Sand and Prime:** Sand all cut edges smooth to prevent splinters. Apply a coat of primer to all surfaces. This ensures an even finish for your paint or stain.
4. **Paint or Stain:** Apply your chosen paint or stain color. Allow it to dry completely between coats. I opted for a soft grey to match my entryway, but a bolder color could add a fun pop.
5. **Install Brackets (if needed):** For sturdy shelves, you’ll want to attach brackets to the wall. Measure and mark where your shelves will go, ensuring they are level. Screw the brackets securely into the wall studs if possible. If you can’t find studs, use appropriate wall anchors.
6. **Position Your Shelves:** Carefully place your shelves onto the brackets. For a more permanent solution, you can screw the shelves into the brackets from the top.
7. **Add Dividers (Optional):** For smaller shoes like sandals or flats, consider adding vertical dividers to keep pairs neatly separated. These can be made from smaller pieces of wood.
8. **Accessorize:** Now for the fun part! Add bins, baskets, or shoe racks to your shelves.
Adapting for Small Spaces and Rentals
Don’t despair if you have a tiny under-stair nook or live in a rental where drilling is a no-go.
Small Space Solutions:
* **Vertical Shoe Racks:** Look for slim, multi-tiered shoe racks that can fit snugly into the space without overwhelming it. You might be able to fit two narrow racks side-by-side.
* **Over-the-Door Shoe Organizers:** While typically for doors, some can be adapted to hang from a sturdy hook placed just inside the under-stair opening if there’s a wall.
* **Stackable Bins:** Opt for stackable clear plastic bins so you can easily see what’s inside and maximize vertical space.
Rental-Friendly Solutions (No Drilling):
* **Freestanding Shelving Units:** Look for modular, freestanding shelving units that you can simply assemble and place in the space. Many come with anti-tip kits that can be secured to the wall without drilling (though check your lease for specifics).
* **Tension Rods and Fabric Cubbies:** Install tension rods across the width of the opening at different heights. Drape fabric shoe cubbies over these rods. This is surprisingly sturdy and completely non-damaging. You might need 3-4 tension rods, costing around $10-$20 each.
* **Collapsible Shoe Organizers:** Many fabric shoe organizers are designed to be freestanding and can be placed directly on the floor, offering a simple solution.
* **Command Hooks and Strips:** For lighter items like flip-flops or children’s shoes, use heavy-duty Command hooks or strips to attach small baskets or even individual shoe holders to the walls.
* **Rolling Shoe Carts:** A narrow, multi-tiered rolling shoe cart can be easily moved and fits well in tighter spaces.
Styling Notes: Beyond Just Storage
This is where we elevate the functional to the fabulous!
* **Color Palette:** Choose a color that complements your entryway or hallway. Neutral tones like white, grey, or wood finishes create a seamless look. For a bolder statement, consider a pop of color – think teal, mustard yellow, or a deep navy.
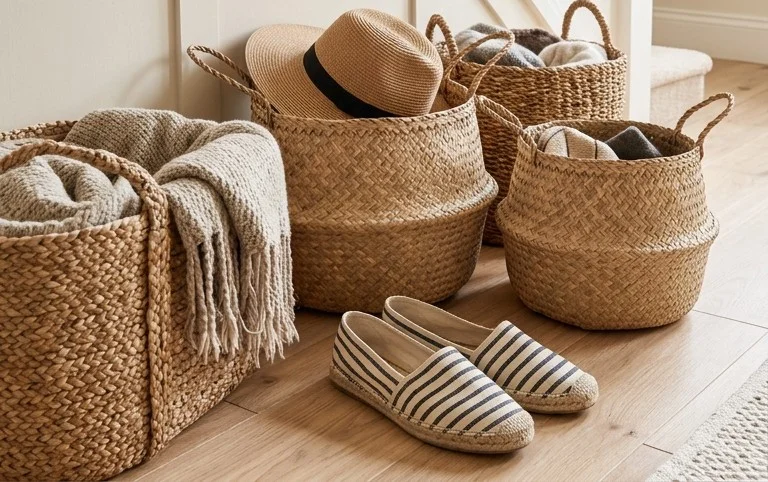
* **Texture Play:** Mix textures for visual interest. Woven baskets, smooth metal racks, soft fabric bins, and the natural grain of wood can add depth and sophistication.
* **Placement Strategy:**
* **Everyday Shoes:** Place your most frequently worn shoes at the front and at eye level for easy access.
* **Seasonal Shoes:** Store out-of-season shoes on higher or lower shelves.
* **Boots:** If your space allows, consider a dedicated boot rack or taller bins for your boots. If the height is limited, consider boot shapers to keep them upright.
* **Kids’ Shoes:** Dedicate lower shelves or smaller bins for children’s shoes to encourage independent organization.
* **Aesthetics:** Don’t be afraid to add a small plant, a decorative bowl for keys, or a framed picture to personalize the space and make it feel like an intentional design element.
Keeping it Tidy After Week One
The initial week of organization is exhilarating, but maintaining it requires a little ongoing effort.
* **The “One In, One Out” Rule:** When a new pair of shoes comes in, an old pair should go out (to be donated, sold, or discarded).
* **Daily Quick Tidy:** Spend 2 minutes each day putting shoes back in their designated spots. This prevents piles from forming.
* **Weekly Shoe Sort:** Once a week, take 5-10 minutes to straighten up, ensure pairs are together, and dust the shelves.
* **Designated “Clean Up” Zone:** Have a small basket or bin designated for shoes that need cleaning or repair. Address these items promptly.
Common Mistakes That Make This Fail
Even the most brilliant solutions can falter if we fall into common traps.
* **Underestimating Shoe Volume:** Not accurately assessing how many shoes you have will lead to insufficient storage.
* **Ignoring the Slope:** Trying to force standard shelving into an angled space will result in wasted room and awkward access.
* **Overcrowding:** Jamming too many shoes into one space defeats the purpose of organization and makes it difficult to retrieve what you need.
* **Lack of Accessibility:** If your storage solution is too difficult to use (e.g., high shelves for heavy boots, deep drawers that are hard to pull out), you won’t maintain it.
* **Forgetting About Maintenance:** Assuming the initial organization will last forever without any ongoing effort is a recipe for a return to clutter.
* **Choosing Style Over Functionality (Completely):** While style is important, if your beautiful baskets are too small for your boots or the shelves are too shallow for your sneakers, they won’t work.
Transforming your under-stair space into a shoe storage sanctuary is a rewarding project. With careful planning, a dash of creativity, and a commitment to maintenance, you can finally tame that tread and add a stylish, functional element to your home. Happy organizing!
Conclusion
Transforming that often-neglected under-the-stair space into a functional and stylish haven for your footwear can make a surprising difference in your daily routine. Imagine stepping in the door and knowing exactly where your favorite pair of shoes are, without a chaotic scramble. It’s a small change that brings a big sense of order and calm.
Ready to get started? Your smallest possible first step today could be simply clearing out the clutter that’s already there. Once the space is free, you’ll be amazed at the possibilities.
Don’t have stairs? Consider a beautiful shoe bench for your entryway, or perhaps a slim, vertical shoe rack for a smaller bedroom. Regardless of your space or budget, there are clever and stylish under the stair shoe storage solutions, or their alternatives, waiting to be discovered.
We hope these ideas inspire you to reclaim your space and inject a little more style and organization into your home. Keep exploring for more decorating and organization tips!
