Free Vintage Printable Art | Easy Budget Decor Ideas
Free vintage printable art sources are a game-changer when you’re looking to add personality and charm to your walls without breaking the bank! Are you tired of staring at blank spaces, or perhaps feeling like your current decor is a bit… uninspired? Maybe you’ve seen those beautiful, curated gallery walls online and thought, “I could never afford that,” or “Where would I even start?” I totally get it. But imagine your living room or bedroom instantly feeling more sophisticated and lived-in, with framed botanical prints or captivating historical portraits adding a touch of timeless elegance. The best part? This can cost you virtually nothing beyond the ink and paper for printing, and it takes mere minutes to download and print. In this article, I’m going to show you exactly where to find these treasures, how to pick the perfect pieces, and the simple steps to bring your dream gallery wall to life!
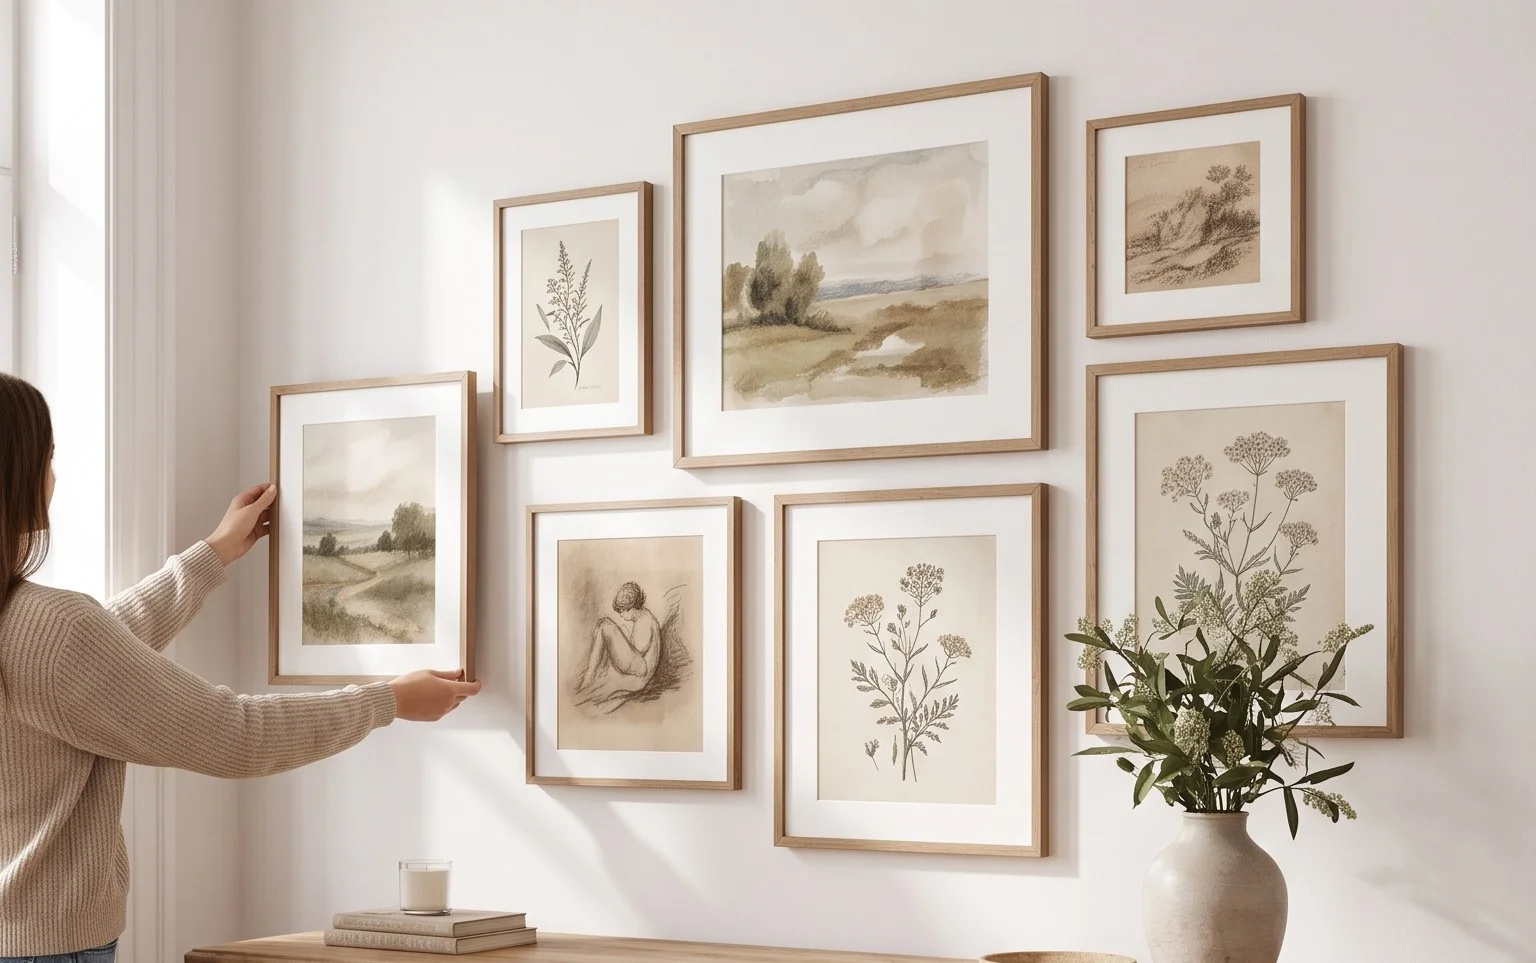
Transform Your Walls with Free Vintage Printable Art from Jenna Sue Design
Who doesn’t love the charm and character of vintage art? It has a timeless appeal that can instantly elevate any room. But let’s be honest, acquiring authentic antique pieces can be incredibly expensive. Thankfully, there’s a brilliant and budget-friendly alternative: free vintage printable art! Today, I’m excited to share my personal journey of transforming my home decor using the stunning free vintage printables from Jenna Sue Design. I’ve found her collection to be an absolute treasure trove, offering a wide range of styles and subjects that are perfect for any aesthetic.
What You’ll Need and Roughly What It Costs
The beauty of this project is its affordability. You really don’t need much to get started, and the investment is minimal.
Essential Supplies:
* **Printer:** If you don’t own one, this is the biggest initial investment. A good quality inkjet printer can be purchased for anywhere from $100 to $300. If you have a local print shop, you can also use them, which I’ll touch on later.
* **Paper:** The type of paper you choose will significantly impact the final look. For a classic, matte finish, I recommend a good quality cardstock, around 80-100 lb weight. A pack of 100 sheets of 8.5×11 inch cardstock can cost between $15-$25. For a more luxurious feel, consider a slightly heavier stock or even a textured art paper, which might add another $10-$20 to your budget.
* **Frames:** This is where you can really control your budget. Thrift stores are your best friend! I’ve found beautiful frames for as little as $2-$10 each. If you prefer new, a basic 8×10 inch frame from a large home goods store might set you back $15-$30. For a gallery wall, you might want a mix of sizes, so factor that in.
* **Scissors or Paper Trimmer:** For precise cutting. A good pair of scissors is usually under $10. A paper trimmer, which I highly recommend for clean edges, can range from $20-$40.
* **Adhesive (for rentals/no-drill situations):** This is crucial if you can’t put nails in your walls. Command Strips are my go-to. A pack of 20 medium-sized strips usually costs around $8-$12. For larger frames, you might need a few per frame.
Optional but Recommended:
* **Matting:** If your frames are larger than your prints, consider buying mats. These add a professional touch. You can often find them at craft stores or online, ranging from $5-$15 per mat depending on size and quality.
* **Frame Hanging Hardware:** If your frames don’t come with it, you’ll need picture hanging kits. These are usually inexpensive, around $5-$10 for a basic set.
**Rough Total Cost Estimate:** For a small gallery wall of, say, three 8×10 prints with thrifted frames and good quality cardstock, you could be looking at anywhere from $50-$150, depending heavily on your frame choices and whether you already own a printer.
Measuring and Planning Before You Start
Before you even download a single image, take some time to plan. This is a crucial step that will save you a lot of headaches and wasted paper!
Space Assessment:
* **Wall Dimensions:** Measure the wall space where you intend to hang your art. Note the width and height. This will help you determine how many pieces you can fit and what size frames will work best. For example, a 5-foot by 7-foot wall can comfortably accommodate a collection of three to five 8×10 or 11×14 inch framed prints, arranged in a balanced cluster.
* **Existing Decor:** Look at your current furniture, color palette, and existing decor. What colors and styles will complement your new art? Vintage art often has a muted or sepia tone, so consider how that will play with your existing scheme.
* **Focal Point:** Decide if this art will be a focal point or an accent. This will influence the size and boldness of your chosen prints.
Print Size Considerations:
* **Standard Sizes:** Jenna Sue Design offers her printables in various sizes, but many are designed to fit standard frame sizes like 5×7, 8×10, or 11×14 inches. Printing on standard 8.5×11 inch paper means you’ll likely be printing these within those dimensions or slightly larger, allowing for trimming.
* **Printing Options:** Consider if you’ll be printing at home or at a professional print shop. If at home, stick to standard paper sizes. If using a print shop, you can often request custom sizes, which opens up more possibilities.
* **Gallery Wall Layout:** If you’re planning a gallery wall, sketch out your desired layout on paper. This will help you visualize the spacing and arrangement. Use painter’s tape on your wall to mark out the approximate size and placement of your frames before you commit.
A Clear Walkthrough of the Process
Now for the fun part! Here’s my step-by-step guide to bringing these beautiful vintage prints to life.
1. **Explore and Select Your Art:** Head over to Jenna Sue Design’s free printables section. Spend some time browsing her extensive collection. I love to create a mood board or Pinterest board with potential pieces. Look for themes, color palettes, and artists that speak to you. I usually select 5-7 pieces initially, knowing I might narrow it down later.
2. **Download Your Chosen Files:** Once you’ve made your selections, download the high-resolution files. Jenna Sue Design typically provides them in easily printable formats like JPG or PDF.
3. **Prepare Your Printer and Paper:** Load your printer with your chosen cardstock or art paper. Ensure it’s fed correctly to avoid jams.
4. **Print Your Artwork:** Open your downloaded files. If printing at home, I usually set my printer to the highest quality print setting. If the printable is a specific size (e.g., 8×10) and your paper is 8.5×11, ensure your print settings are “Actual Size” or “100%” to avoid distortion. You might need to adjust margins slightly or be prepared to trim. If using a print shop, provide them with the file and your desired dimensions.
5. **Trim Your Prints:** Once printed, carefully trim around the edges of your artwork. If you’re framing with a mat, trim to the size specified by the mat’s opening. If framing without a mat, trim to the exact size of your frame or slightly smaller to ensure it fits within the frame’s lip. A paper trimmer provides the cleanest edges.
6. **Frame Your Art:**
* If using mats, place your trimmed print on the mat and secure it lightly with a piece of acid-free tape on the back of the print.
* Carefully place your matted print (or your trimmed print directly) into the frame. Ensure it’s centered.
* Secure the backing of the frame.
7. **Hang Your Art:**
* **Drilling Method:** If you’re able to drill, use your measuring tape and a level to mark the desired hanging points on the wall. Install your picture hooks or nails.
* **No-Drill Method (Rentals):** Clean the wall surface thoroughly with rubbing non-alcoholic alternative where you plan to place the Command Strips. Follow the instructions on the Command Strip packaging precisely for application and pressure. It’s crucial to let them adhere for the recommended time before hanging your frames. I typically use 4 strips per medium-sized frame for added security.
Adapting for a Small Space or Rental
The beauty of printable art is its adaptability.
* **Small Spaces:** In a compact room, a single, larger statement piece can be very effective. Or, create a mini gallery wall in a tight corner or above a small desk. Don’t be afraid to use smaller prints (5×7 inches) clustered together in a tight arrangement to maximize impact without overwhelming the space.
* **Rentals:** Command Strips are your absolute best friend here. They provide a strong hold without damaging paint or drywall, making them perfect for renters. You can also explore leaning artwork against a shelf or mantelpiece, which requires no wall damage at all.
Styling Notes: Color, Texture, and Placement
This is where your personal style truly shines!
* **Color Palette:** Vintage art often leans towards sepia tones, muted greens, blues, and earthy hues. Consider this when choosing your prints. If your room has vibrant colors, a touch of muted vintage art can provide a beautiful contrast. If your room is neutral, vintage art can add warmth and depth. I love pairing a deep green botanical print with a soft cream wall and natural wood accents.
* **Texture:** Mix and match textures to add visual interest. Pair framed prints with a linen matting with a smooth, modern frame. Or, choose frames with a distressed wood finish to complement the vintage feel of the art. Even the paper choice adds texture – a slightly textured art paper can lend a more authentic feel than plain cardstock.
* **Placement:**
* **Gallery Wall:** Aim for a balanced arrangement. Start with your largest or most prominent piece and build around it. Keep consistent spacing between frames, roughly 2-4 inches.
* **Focal Point:** Hang a larger piece directly above a sofa, bed, or mantelpiece. Ensure the bottom of the frame is at eye level (around 57-60 inches from the floor).
* **Grouping:** Group smaller prints in an interesting pattern – think a diagonal line or a tight square.
* **Avoid Overcrowding:** In smaller spaces, resist the urge to fill every inch of wall. Sometimes, a single well-placed piece or a small, curated grouping has more impact.
Keeping It Tidy After Week One
Once your art is up, the “tidy” part is less about cleaning and more about maintaining the visual appeal.
* **Dusting:** A gentle dusting with a microfiber cloth is usually all that’s needed. Avoid harsh cleaning products that could damage the print or frame.
* **Frame Maintenance:** Occasionally check that frames are still secure, especially if you used adhesives. If a Command Strip seems to be losing its grip, carefully remove the frame, peel off the old strip, and apply a new one.
* **Rotation:** One of the joys of printable art is that you can easily swap pieces out! If a certain arrangement starts to feel stale, simply print new art and replace old pieces. This keeps your decor fresh and exciting.
Mistakes That Make This Fail
Even with the best intentions, a few common pitfalls can derail your vintage art dreams.
* **Poor Print Quality:** Using low-resolution files or printing on cheap, thin paper will result in a washed-out or pixelated image. Always download the highest resolution file available.
* **Incorrect Sizing:** Printing art that’s too small or too large for the intended space can make it look out of place. Measure your wall and your frames carefully.
* **Bad Layout:** A haphazard gallery wall with inconsistent spacing or an unbalanced arrangement can look messy. Take the time to plan your layout.
* **Wrong Adhesive for Rentals:** Using the wrong type of adhesive or not following the instructions for Command Strips can lead to damaged walls and fallen art. Always use products specifically designed for temporary hanging and follow directions meticulously.
* **Ignoring Color Harmony:** Throwing any vintage print onto any wall without considering the existing color scheme can clash and look jarring. Think about how the art will integrate with your overall decor.
* **Over-Styling:** While it’s tempting to go all-in with vintage elements, sometimes less is more. Don’t let the art get lost in a sea of too many other decorative items. Let the art breathe and be the star.
Creating beautiful, impactful decor doesn’t have to break the bank. By tapping into the amazing resources like Jenna Sue Design’s free vintage printables, you can transform your walls with charm, history, and personality. Happy decorating!
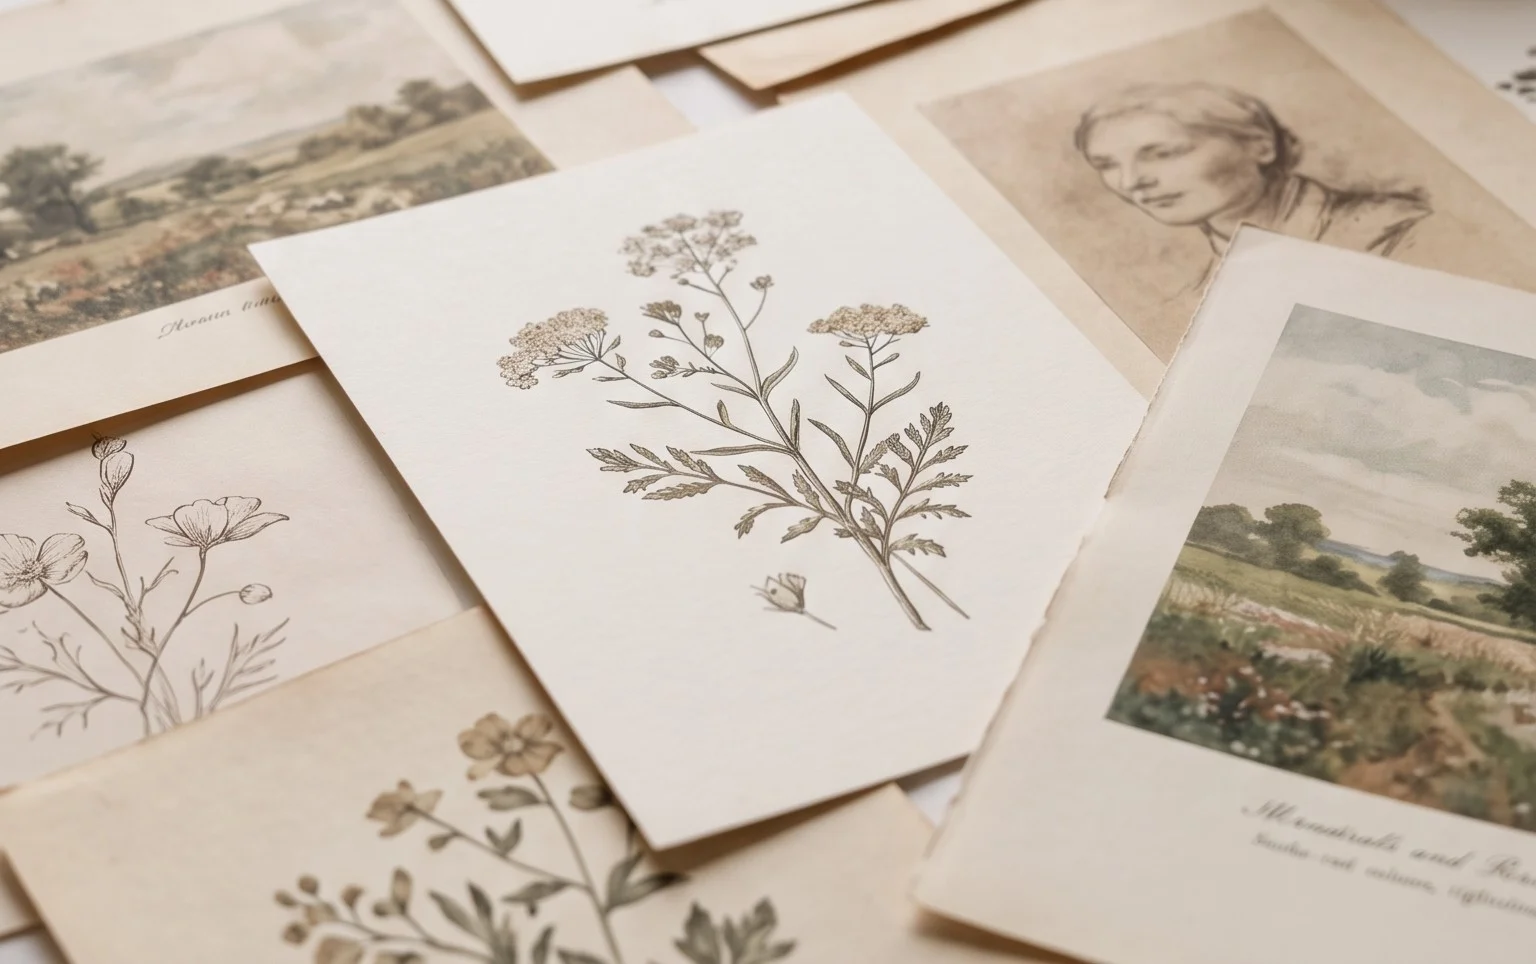
Conclusion
Bringing beautiful, free vintage printable art into your home can truly transform your space, making even the smallest corner feel more personal and inspiring. It’s amazing how a few well-chosen pieces can lift your mood and make your everyday surroundings a little more joyful.
Ready to start? Your smallest first step could be as simple as browsing one of the sources for just 15 minutes today!
Quick Ideas:
For a Cozy Kitchen: Look for old recipe cards or botanical prints.
For a Budget-Friendly Bedroom Refresh: Try classic landscape art or elegant script fonts.
We hope this inspires you to discover the magic of free vintage printable art. Explore more ideas on our blog to keep your home feeling fresh and unique!
