New jewelry organizers are a game-changer for anyone tired of tangled necklaces and misplaced earrings! Does your jewelry drawer resemble a chaotic jumble, where finding the perfect piece feels like an archaeological dig? I know mine used to! Imagine, instead, a beautifully organized space where every bracelet has its place, every pair of earrings is neatly displayed, and your favorite necklaces hang elegantly, ready to be chosen. This transformation can be surprisingly affordable, often costing less than a fancy coffee date, and many projects can be completed in an afternoon. In this article, I’ll share some of the latest chic organizers hitting the market, plus simple, budget-friendly DIY ideas that will bring order and style to your treasured accessories. Get ready to discover how to make your jewelry sparkle as much as your perfectly organized collection!
Declutter Your Bling: Chic New Jewelry Organizers and Creative DIY Solutions
As a jewelry lover, I know the struggle. That beautiful necklace tangled with earrings, the earrings that mysteriously disappear, and that overflowing jewelry box that’s more chaos than treasure. It’s time to reclaim your sparkle and bring order to your adornments. This article is your guide to both sleek, ready-to-buy organizational solutions and fun, budget-friendly DIY projects that will transform your jewelry storage from a headache into a highlight.
The Allure of New Jewelry Organizers
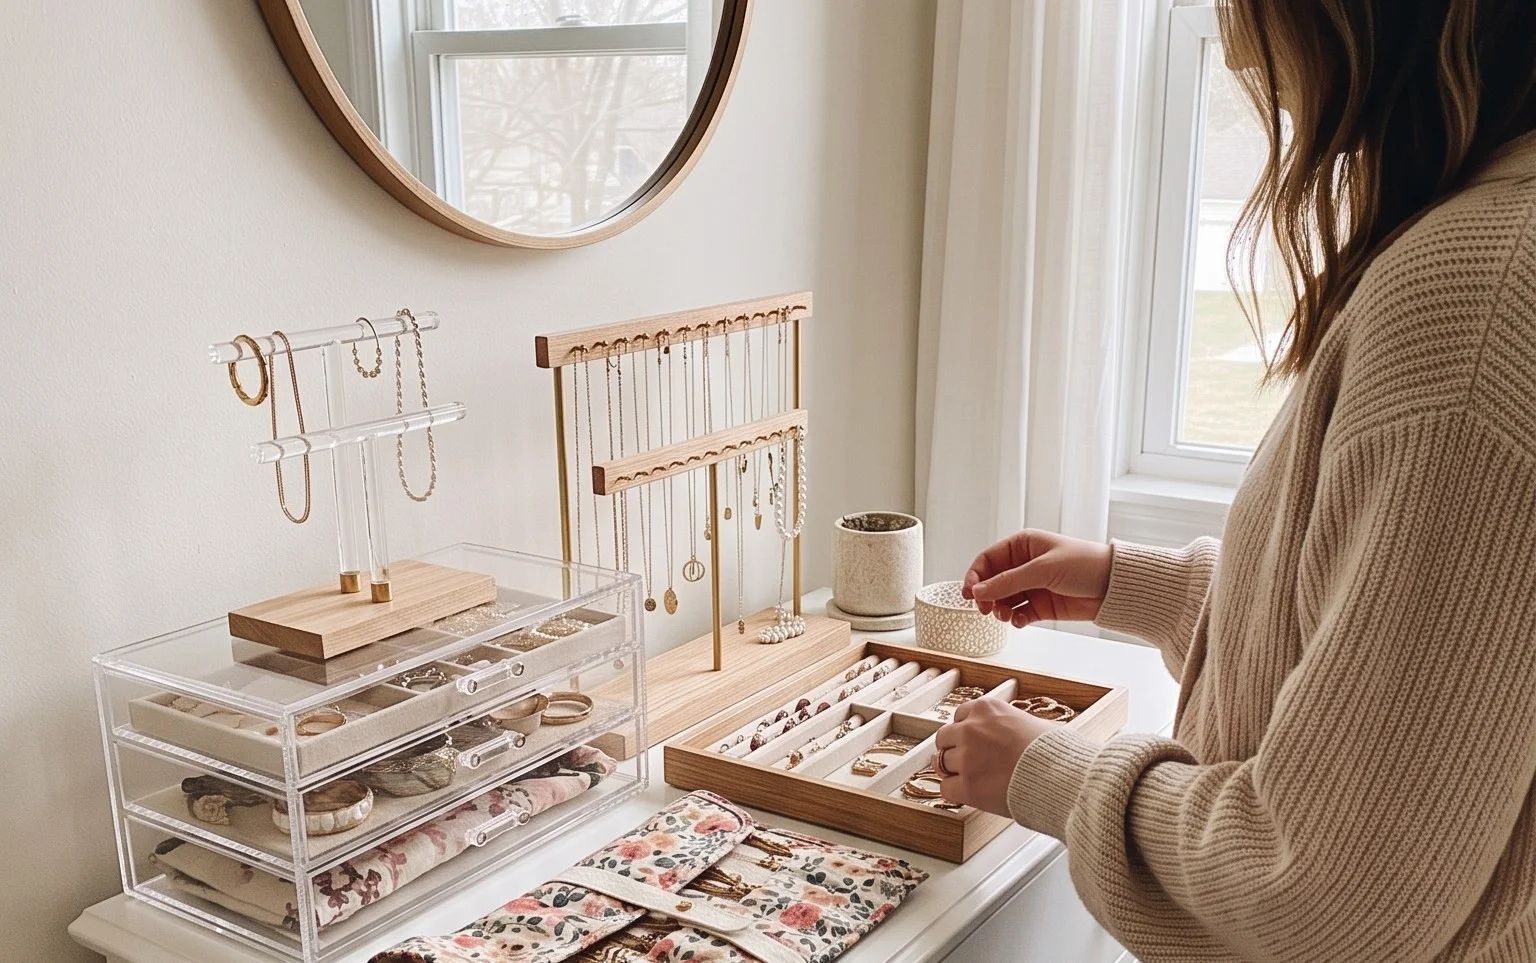
The market is bursting with innovative and stylish jewelry organizers designed to suit every taste and need. From minimalist acrylic stands to opulent velvet-lined drawers, there’s something to elevate any vanity.
One of my recent favorites is a tiered acrylic earring stand. These often come in sets of two or three and can hold dozens of pairs of studs and dangles. I found a set online for around $30 that offered adjustable heights, allowing me to display everything from delicate studs to statement hoops. They are surprisingly sturdy and give a clean, modern feel to my dressing table.
For necklaces and bracelets, wall-mounted organizers are fantastic space-savers. I invested in a minimalist metal wall rack with multiple hooks and a small shelf. This one cost me approximately $45 and it’s been a game-changer. The hooks are spaced well, preventing tangling, and the shelf is perfect for holding my everyday rings or a small perfume bottle.
If you prefer an all-in-one solution, many companies offer beautiful jewelry armoires or chests. These can range from $80 for a compact tabletop version to $300+ for a full-sized standing unit. I’ve seen some gorgeous ones with mirrored doors, multiple drawers of varying sizes, and built-in compartments for rings, earrings, and necklaces.
DIY: Your Personal Touch to Jewelry Organization
Sometimes, the most satisfying solutions are the ones you create yourself. DIY jewelry organization is not only cost-effective but also allows you to tailor the storage perfectly to your collection and aesthetic.
DIY Frame & Wire Organizer
This is a fantastic project for displaying earrings and some lighter necklaces. It’s surprisingly simple and can be customized in size and style.
What You Need:
- A picture frame: Look for one with a depth of at least 1 inch. A 10×12 inch frame works well, costing around $10-$20 at a craft store.
- Wire mesh or chicken wire: A small roll is usually under $10. Alternatively, you can use sturdy craft wire and create your own grid.
- Heavy-duty staples or small nails: A box costs around $5.
- Pliers or a staple gun.
- Optional: Spray paint for the frame (around $7).
Rough Cost: $20 – $40, depending on the frame and materials chosen.
Measuring and Planning:
Measure the inside dimensions of your picture frame. You’ll want your wire mesh to fit snugly inside, covering the entire opening. If using chicken wire, you might want to cut it slightly larger than the opening to fold over the edges for a cleaner finish.
The Walkthrough:
- Remove the glass and backing from your picture frame.
- Cut the wire mesh to size. If using chicken wire, carefully trim any sharp edges with pliers.
- Place the wire mesh inside the frame opening.
- Secure the mesh to the back of the frame. Use heavy-duty staples or small nails, ensuring they are evenly spaced to hold the wire taut. If using nails, pre-drill tiny holes to prevent wood splitting.
- If desired, spray paint the frame to match your decor. Allow it to dry completely.
- Reassemble the frame with the wire mesh secured. You can then hang this on the wall or lean it on a dresser.
DIY Jar and Tray Organizer
This is perfect for smaller items like rings, stud earrings, and even loose charms. It’s incredibly versatile and can be adapted to any surface.
What You Need:
- Assorted glass jars or small decorative containers: Think old jam jars, spice jars, or even pretty tea cups. You can source these for free or from thrift stores for $1-$5 each.
- A decorative tray or shallow box: A decorative serving tray, a wooden shadow box, or even a sturdy cardboard box lined with fabric can work. These can cost from $10 to $30.
- Optional: Craft felt or velvet lining for the tray (around $5).
Rough Cost: $15 – $40, depending on the tray and number of jars.
Measuring and Planning:
Place your jars on the tray or in the box to see how they fit. Consider the height of the jars and ensure they won’t topple over. Measure the dimensions of your tray/box to ensure it fits your intended space.
The Walkthrough:
- Clean your jars thoroughly.
- If you’re using a tray or box, consider lining it with craft felt or velvet for a softer, more luxurious feel. You can simply cut the fabric to size and secure it with a bit of fabric glue or double-sided tape.
- Arrange your jars and containers on the tray or in the box. Think about grouping similar items together.
- You can then place this arrangement on your dresser, vanity, or a shelf.
Adapting for Small Spaces and Rentals
Living in a small apartment or a rental doesn’t mean you have to sacrifice organization. The key is to maximize vertical space and utilize clever, non-damaging solutions.
For renters who can’t drill, the picture frame DIY organizer can be hung using strong adhesive hooks like Command Strips. These hooks can hold up to 5 pounds and won’t damage your walls when removed.
Another excellent option is a tiered hanging jewelry organizer that uses clips or hooks to attach to a closet rod or a tension rod placed in a doorway. These can hold a surprising amount of jewelry and fold away neatly when not in use. I’ve seen these online for $20-$35.
The jar and tray DIY is perfect for small spaces as it can be as compact as you need it to be. A small decorative tray with a few carefully chosen jars can fit on even the smallest bedside table or shelf.
Styling Your Organized Jewelry
Once your jewelry has a home, presentation is key. It’s not just about hiding clutter; it’s about creating a beautiful display that reflects your personal style.
**Color and Texture:**
Think about the overall aesthetic of your room. If you have a minimalist decor, opt for clear acrylic organizers or simple white or black ceramic dishes. For a more bohemian vibe, try natural wood trays or woven baskets. Velvet-lined trays add a touch of luxury and softness.
**Placement:**
Group similar items together. Dedicate specific jars or compartments for rings, stud earrings, delicate necklaces, and bracelets. This makes it easier to find what you’re looking for and prevents tangling. Place your most frequently worn pieces in easily accessible spots. For example, I keep my everyday stud earrings in a small, open dish on my vanity, while my more delicate necklaces hang on a wall organizer.
**Aesthetic Flow:**
Don’t be afraid to incorporate small decorative elements. A tiny vase with a single flower, a beautiful candle, or a framed photo can elevate your jewelry display from functional to fabulous. The goal is for your organized jewelry to look intentionally curated, not just stored.
Keeping it Tidy After Week One
The initial thrill of a perfectly organized space can fade if you don’t maintain it. Here’s how to keep your jewelry looking its best:
* **The Daily Tidy:** As you take off your jewelry at the end of the day, take those extra 30 seconds to put each piece back in its designated spot. This is the most crucial habit to develop.
* **Weekly Quick Sort:** Once a week, dedicate 5 minutes to a quick visual scan. Are necklaces tangled? Are earrings out of place? A quick adjustment can prevent bigger messes later.
* **Monthly Deep Dive:** Once a month, take a little more time to polish any tarnished pieces, check for loose clasps, and ensure everything is still where it should be. This is also a good time to assess if your current organization system is still working for you and your collection.
Common Mistakes That Make Organization Fail
Even the best intentions can lead to organizational woes. Here are a few common pitfalls to avoid:
* **Overcrowding:** Trying to cram too much into one organizer will inevitably lead to tangles and frustration. Be realistic about the capacity of your chosen storage. If you have a vast collection, you might need multiple solutions.
* **Not Accounting for Size and Type:** Putting heavy statement necklaces on a fragile wire organizer or delicate earrings in a large, deep jar can lead to damage or loss. Consider the weight and size of your jewelry when choosing or creating your organizers.
* **Ignoring Accessibility:** If your most-worn pieces are buried at the bottom of a drawer or on a hard-to-reach shelf, you’re less likely to put them away properly. Prioritize easy access for your everyday items.
* **The “One and Done” Mentality:** Organization isn’t a one-time task. Your jewelry collection will evolve, and your needs may change. Be prepared to adapt your storage solutions as needed. If a system isn’t working after a month, don’t be afraid to tweak it or try something new.
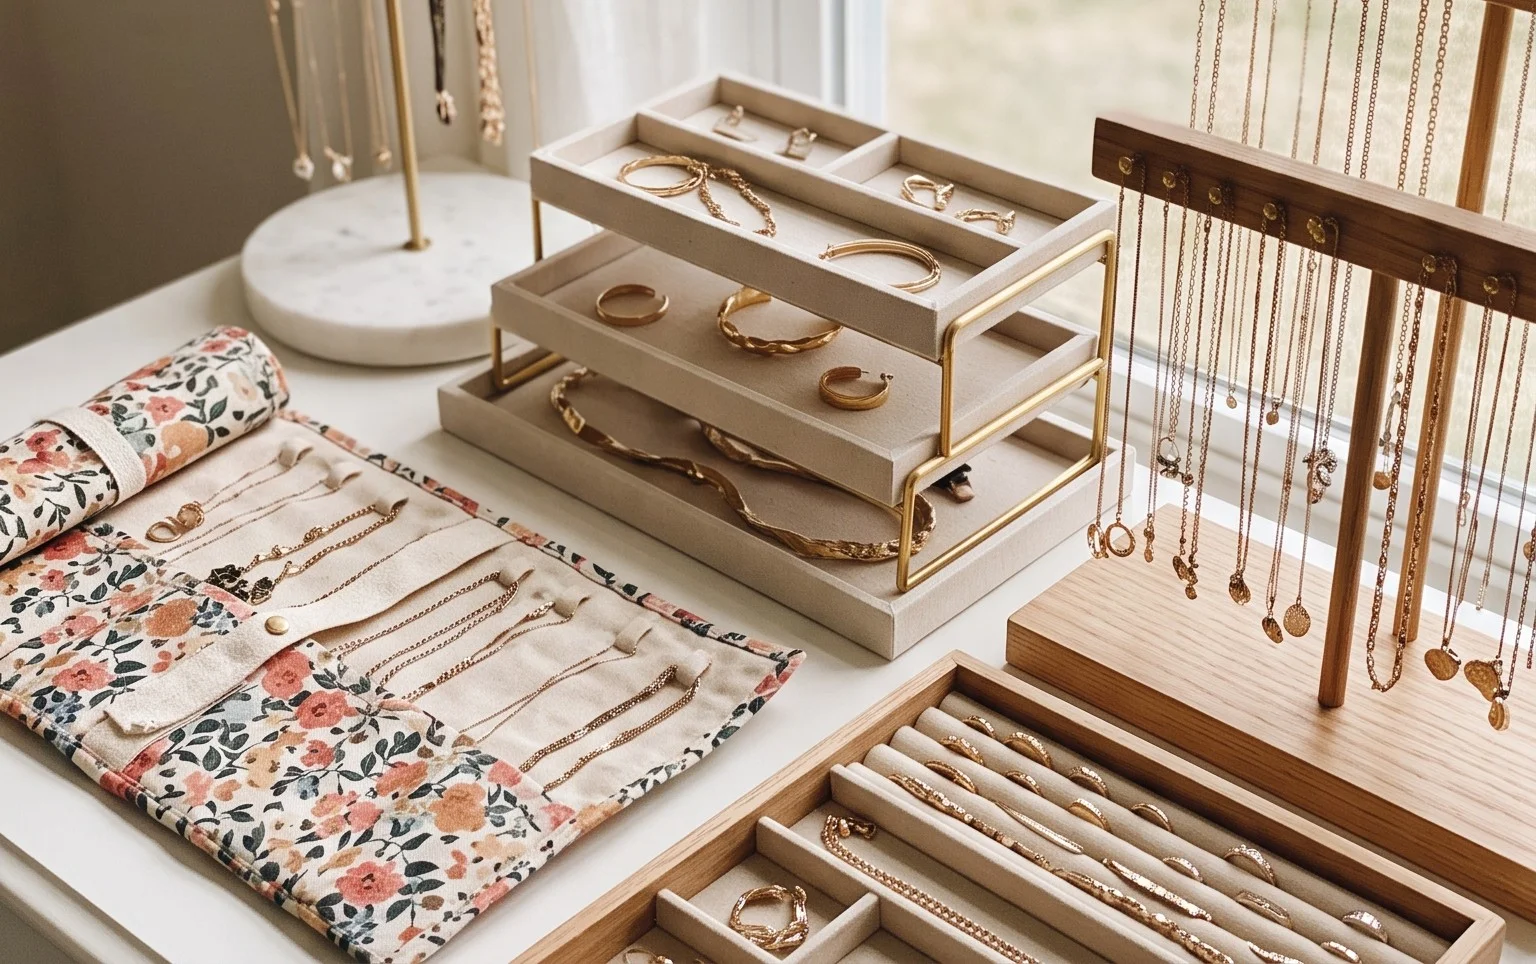
By embracing both stylish new organizers and the satisfaction of DIY projects, you can transform your jewelry storage into a beautiful, functional, and clutter-free part of your home. Now go forth and conquer your sparkle!
Conclusion
Transforming your jewelry clutter into curated displays can genuinely bring a sense of calm and efficiency to your mornings. Imagine the ease of finding that perfect piece without a frantic search – it’s a small change that makes a big difference day to day. Ready to start? Your smallest first step could be as simple as clearing one small drawer or countertop space dedicated to your favorite accessories. For a touch of elegance in your bedroom, consider a chic jewelry box. On a tighter budget, a beautiful DIY wall organizer using a painted corkboard is a fantastic option! Don’t stop here; there are endless ways to enhance your home with creative organization.